Category Archives: Part 4

A4-Reflection upon tutor’s feedback

I have to start by saying how pleased I am with my first feedback session even though  I was very nervous .It’s great to have one to one interaction and step out of the  virtual zone.Makes it that more real . Helen was great and made the conversation feel relaxed while giving me some really good pointers. I left the session feeling very positive  and actually quite excited for the future knowing I will receive excellent support from her.

In regards to A4  I’m pleased with the feedback and the points that were made.Some key points that I’ve taken from it are:

  •  -write in my learning log ALL the research that contributed to the thought process and the development of the concept .
  • -explain the choice of costume and the Caravaggio influence .
  •  -add a link from the forum discussion in the Log.
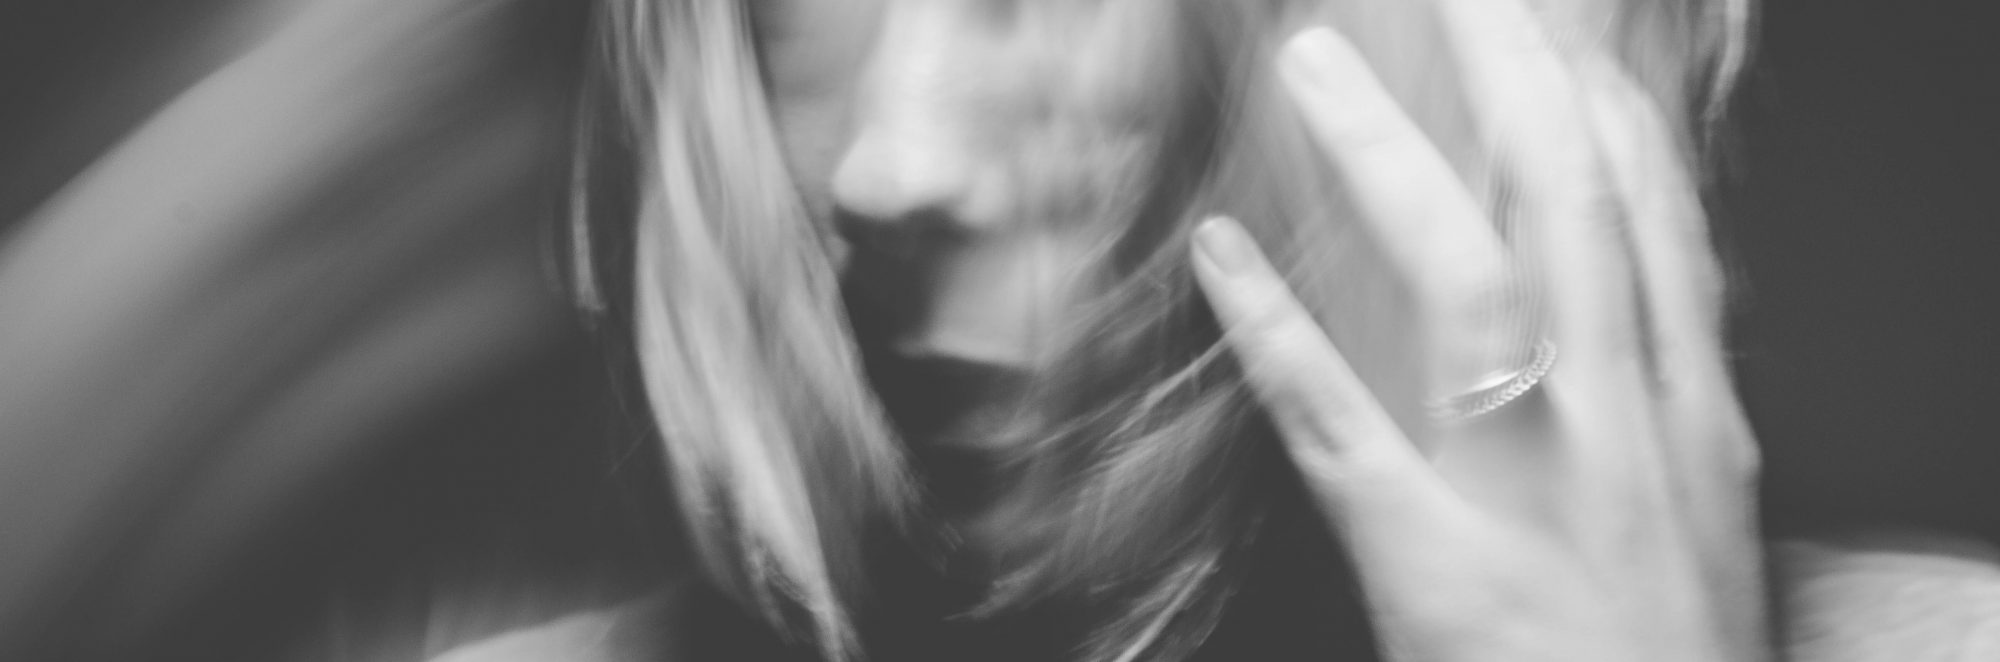
  • -mention that these are self-portraits.
  • -in terms of editing ,write key points of the brief and use a separate format for my own words so that there is a clear separation between the two .
  • -start with the concept so that the reader is clued up before seeing the photographs.
  • -write a clear explanation on the choice of  selects and the nature of the sequence.Why this order? How does this contribute to the narrative ?is it a succession of images with a beginning ,middle and end?
  • -reflect on the selection, be mindful of variation ,some of the pictures are similar in terms of information ,maybe look at replacing or changing the order.
  • -research Liam O’Connor
  • -research Michal Iwanowski
  • -send existing prints for A3 and prepare prints for A5
  • -bring more of myself and my thought process into the log/lose the clinical aspect.

Exercise 4.3


Brief

Revisit one of the exercises on daylight, artificial light or studio light from Part Four   (4.2, 4.3 or 4.4) and prepare it for formal assignment submission:

Create a set of between six and ten finished images. For the images to work naturally as a series there should be a linking theme, for instance a subject, or a particular period of time.

Process

Initially I wanted to go outside and use the night lights,reflections,lamp posts as per Ruth Blees Luxembourg’s work  but  I didn’t find it inspiring at all , even though I’ve seen some great examples from other colleagues as well.It’s strange because out of all other photographers i’ve researched in this part ,the work that stood out to me was Rut Blees Luxembourg’s but when it came down to attempting the same style,it just didn’t work for me, i didn’t feel any connection.So i’m happy just admiring her work .

 Instead I decided against shooting outdoors and focused on what I can do with one light indoor .In comparison to the daylight exercise this felt so much more controllable .To begin with ,I wanted this set to be B&W as I didn’t really think the colour was achieving the eerie feeling I was trying to portray.I’ve posted the set on the forum for feedback and the reaction was split .Some preferred the B&W version some didn’t .One of the tutor (Clive White) stepped in and advised me to tweak the levels in the colour version and this helped me make up my mind .After sleeping on it and looking again with fresh eyes I felt the B&W version seemed theatrical and wasn’t contributing to my concept.I’ve always thought I should stay away from using Photoshop until I learn what the camera can do on its own as I didn’t want to become to reliant on the software.It’s been a great exercise but I feel I’ve also limited myself a bit .Saying this ,it is most certainly a foreign territory and I find myself getting lost quite easy but I suppose practice makes perfect or at least better.

The concept is exploring the idea of immersing in reading and getting lost in an imaginary world.To achieve this I used long exposures as I felt this technique can portray effectively  an out of body experience .The lighting is quite simple: the torch from my iPhone .I found this so easy to manipulate and interesting to use for the fact that it is portable and  I could place it in unusual angles .

In regards to B&W vs colour ,after pushing the white point in Photoshop to adjust the levels I realised that the colour version is no longer just tonal but it actually adds to the dimension instead of defining it.The B&W set looked staged in comparison and while naturally, mono usually creates a very dramatic context in this case it wasn’t adding to my concept.I think it’s easy to accept B&W as a quick fix in achieving a dramatic feeling simply because we are not wired to see the world in black and white and this forces us to give up our sense of colour and the way we understand the world by stripping everything down to form and tonal range.This is not to say that there is no beauty in black and white,there certainly is, but not when it’s used for it’s “forgiving” nature.

Final Selection:

Exercise 4.5

Make a Google Images search for ‘landscape’, ‘portrait’, or any ordinary subject such as ‘apple’ or ‘sunset’. Add a screengrab of a representative page to your learning log and note down the similarities you find between the images.


I decided to take a screenshot of “yellow apple”.As expected they mostly look the same ,some have no shadow looking almost 2D and they all look like they have been lit from the right.

screen-shot-2017-02-28-at-19-07-18

I’ve put my apple on a vanity mirror  and lit it from both sides .The reflection and highlights gives it another dimension .I didn’t want to create an infinity line so i’ve shot it from a slight angle .The edges of the mirror ,and the details on it creates a sense of asymmetric geometry .This is accentuated by the highlights and reflection of the apple.

Exercise 4.4

Use a combination of quality, contrast, direction and colour to light an object in order to reveal its form. For this exercise we recommend that you choose a natural or organic object such as an egg, stone, vegetable or plant, or the human face or body, rather than a man-made object. Man-made or cultural artefacts can be fascinating to light but they also contain another layer of meaning requiring interpretation by the photographer; this exercise is just about controlling the light to reveal form.

You don’t need a studio light for this exercise; a desk lamp or even window light will be fine, although a camera flash that you can use remotely is a useful tool. The only proviso is that you can control the way the light falls on the subject.

Add the sequence to your learning log. Draw a simple lighting diagram for each of your shots showing the position of the camera, the subject and the direction of the key light and fill. Don’t labour the diagrams; quick sketches with notes will be just as useful as perfect graphics. In your notes try to describe any similarities between the qualities of controlled lighting and the daylight and ambient artificial light shots from Exercises 4.2 and 4.3.

the light is positioned to the left of the subject revealing the subject more intense on one side and creating a shadow cast on the other side.

the 2 lights reveal the entire subject but the temperature remains the same .

Just as the first picture ,but from opposite direction we have the same result.

With two light positioned on both sides the subject is revealed in all it’s forms .There are no shadows and the temperature is higher.


This exercise proved  a good test for my newly purchased continuos  lights.I have a greater understanding of how to manipulate light on order to accentuate particular parts of a subject.

Exercise 4.2

In manual mode take a sequence of shots of a subject of your choosing at different times on a single day. It doesn’t matter if the day is overcast or clear but you need a good spread of times from early morning to dusk. You might decide to fix your viewpoint or you might prefer to ‘work into’ your subject, but the important thing is to observe the light, not just photograph it. Add the sequence to your learning log together with a timestamp from the time/date info in the metadata. In your own words, briefly describe the quality of light in each image.

My first observation was that in comparison to artificial light ,natural light is harder to manipulate .I  can see the temperature getting warmer as the day passed ,from cold blue hues in the morning to orange ones in the afternoon .The shadows appear harder in the morning and they seem to become deeper as the day goes . As the sun goes down and the light loses it’s intensity the shadows  become softer again.At 10 AM the sun in shining ,the light is strong creating and contrast.By 19:00 PM the contrast disappears revealing everything.The lower the light levels the longer the shutter speed.

Exercise 4.1

1. Set your camera to any of the auto or semi-auto modes. Photograph a dark tone (such as a black jacket), a mid-tone (the inside of a cereal packet traditionally makes a useful ‘grey card’) and a light tone (such as a sheet of white paper), making sure that the tone fills the viewfinder frame (it’s not necessary to focus). Add the shots to your learning log with quick sketches of the histograms and your observations.

Observations:
First image is of a white card.It is obvious that white was not achieved with  Auto .It looks grey .There is a narrow spike in the mid-tone .In the Lightroom histogram it’s clear that the spike has a highlight ,but it is far from centre.
Second image is of a grey card.The spike is wider but still positioned slightly to the left.
Third image is of a black towel.It looks grey ,the spike is even wider perhaps because of the texture and the light.It’s closer to centre but not quite.
2.Set your camera to manual mode. Now you can see your light meter! The mid- tone exposure is indicated by the ‘0’ on the meter scale with darker or lighter exposures as – or + on either side. Repeat the exercise in manual mode, this time adjusting either your aperture or shutter to place the dark, mid and light tones at their correct positions on the histogram. The light and dark tones shouldn’t fall off either the left or right side of the graph. Add the shots to your learning log with sketches of their histograms and your observations.

Observations:

In Manual i had to adjust the aperture in all three cases in order to achieve a better resemblance of the colours  .As it can be seen none of the histograms in the manual mode look like the ones in auto mode.

This exercise turned out to be very useful in understanding the light meter better and how it can be manipulated in order to achieve a more truthful image.